
How does the paver driveway installation process work? When you imagine a perfectly crafted driveway that combines durability with style, a paver driveway is often the top choice. Understanding the installation process can make all the difference in selecting the right professionals and ensuring a flawless finish. Here’s a detailed yet jargon-free guide to how we install paver driveways at Driveways East Lothian.
1. Why Choose a Paver Driveway?
Before diving into the process, it’s worth highlighting why pavers are such a popular option:
- Versatility: Pavers come in a range of colours, patterns, and textures, allowing you to customise the design.
- Durability: With proper installation, paver driveways can withstand heavy vehicles and harsh weather.
- Ease of Repair: Damaged pavers can be replaced individually, saving time and money.
A paver driveway is an investment that boosts both functionality and kerb appeal.
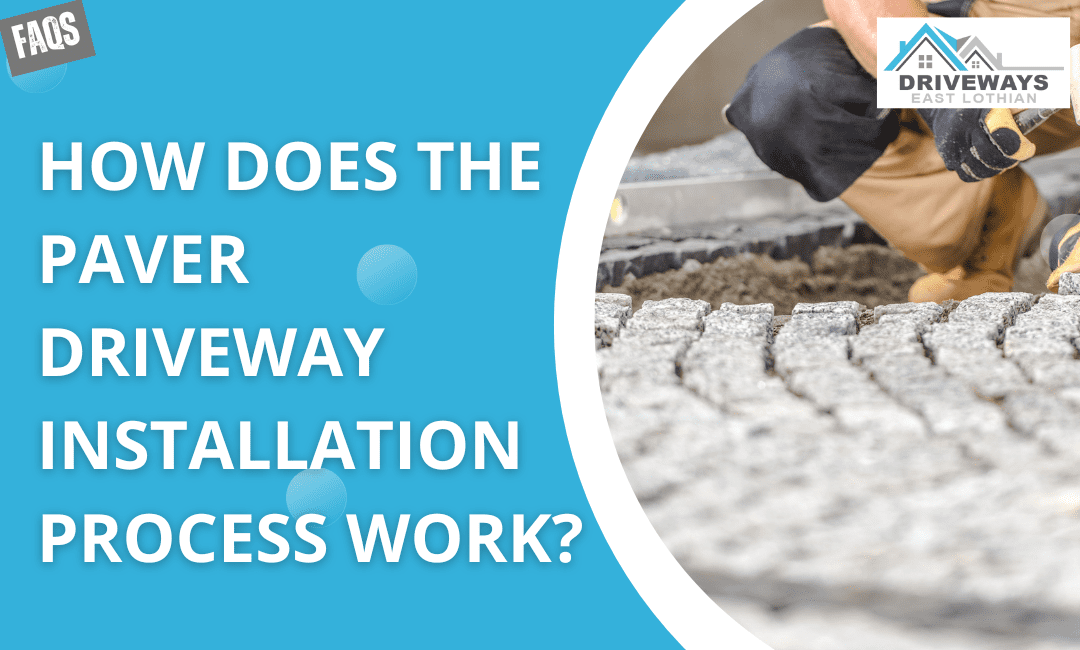
2. Step-by-Step Installation Process
Here’s what happens when you choose us for your paver driveway installation:
Step 1: Consultation and Design
The process begins with a friendly and thorough consultation. We visit your property to assess the space, discuss your preferences, and understand your vision. Whether you’re looking for a sleek, modern driveway or a more traditional design, we work with you to create a layout that perfectly complements your home.
This stage is all about collaboration, ensuring we capture your needs while considering the practical aspects of the site.
Get in touch today to schedule your consultation.
Step 2: Excavation and Base Preparation
A solid foundation is crucial for the longevity of your driveway. We begin by excavating the area to the required depth and removing any debris. Then, we lay a base layer of compacted crushed stone to provide stability and drainage.
Step 3: Edging Installation
Edging is installed to create a frame for the pavers. This ensures that the structure remains intact and the pavers don’t shift over time. Edging can also add a decorative touch.
Step 4: Sand Bedding
A layer of sand is spread evenly across the base. This helps to secure the pavers in place and ensures they sit level. Attention to detail at this stage is essential for a professional finish.
Step 5: Laying the Pavers
This is where the driveway takes shape. Each paver is laid carefully according to the design, ensuring consistent spacing and alignment. We take care to create smooth transitions and patterns that match your vision.
Step 6: Joint Sand and Compaction
Once all the pavers are in place, we spread sand across the surface and sweep it into the joints. This locks the pavers together. Finally, a compactor is used to press the pavers firmly into the sand bedding.
Step 7: Sealing and Final Touches
For added durability and a polished appearance, we apply a sealant to the surface. This protects against stains, weather damage, and fading. We finish by cleaning up and ensuring your new driveway looks immaculate.
3. Expert Tips for Long-Lasting Results
To keep your paver driveway looking its best, follow these simple tips:
- Regular Cleaning: Sweep away debris and hose down the surface to maintain its appearance.
- Weed Prevention: Apply a weed barrier or joint stabilising sand to keep your driveway tidy.
- Sealant Maintenance: Reapply sealant every few years to protect against wear and tear.
Ready to Start Your Project?
Installing a paver driveway doesn’t need to be complicated when you work with experts who handle every detail with care. At Driveways East Lothian, we ensure your driveway is not only beautiful but built to last.
Contact us today for a free consultation, and let us help you bring your vision to life.